
Kathryn Jones
Using camera traps in your garden
Choosing a camera trap
There are lots of camera traps on the market these days, ranging from £50 right up to £750. For beginners, going for a cheaper option initially is a good idea. Both Crenova and Apeman produce reliable models which will record HD daylight video footage and high resolution still images. These are great to get you started and cost between £50 and £70. My preferred camera trap is the Browning Recon Force Pro, which at £170 is one of the midrange models. The extra cost means that the overall quality is better and it also has some useful additional settings, such as an internal screen to allow you to view where the camera is aiming.
The advanced settings also allow the user more concise control over video settings, including infra-red levels. Cheaper options often record overexposed video and images when animals get within 1.5m of them, whereas models such as the Recon Pro will self-adjust the IR level, avoiding that issue.

Stuart Edmunds
Installing your camera
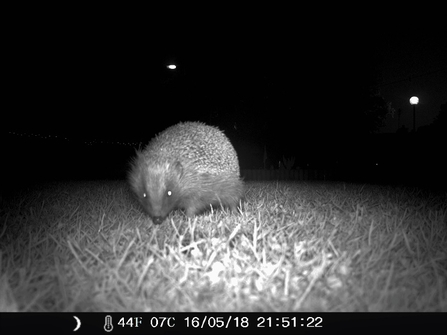
When I set up a camera trap in my garden, I know that my target species are unlikely to be much taller than a hedgehog, so I deploy the camera as low to the ground as possible.
Animals like hedgehogs benefit from us leaving out food and water for them (approved hedgehog food or chicken-based dry cat food only), so I find that the best place to point the camera is at a feeding station or water bowl (see image to the right). With the Browning camera, 1m to the subject area is fine, but cheaper models may require a minimum of 2m, to avoid overexposure in night vision mode.
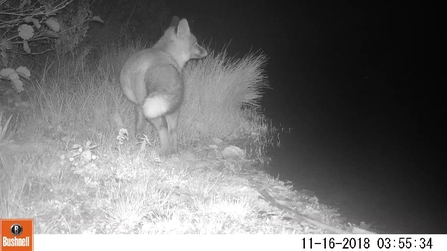
Set the camera on either a tree, washing line pole or a wooden stake and aim it at a clear area, free of waving vegetation, which will trigger it constantly. I find that aiming a camera along the edges of flower beds and the lawn work well and have recorded a variety of birds and mammals in my urban garden.

Stuart Edmunds
To monitor the bird feeders, I have a Bushnell Nature View, which comes with an attachable lens to allow close-focus recording. This is ideal for recording smaller species at proximity. Like other wildlife, garden birds soon begin to relax in the presence of a camera trap once they realise that it isn’t a source of danger. You may need to make adjustments to your bird feeder to put a halt to the constant swinging or your memory card will soon fill up.
Settings
I set my camera traps to record 14 second HD video clips, with an interval between triggers of 4 seconds. Without this delay, the camera might record constantly, which will soon run down your batteries or fill up your SD cards.
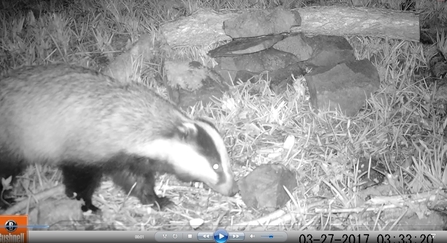
The benefit of installing a camera trap in your garden is that you can check it every morning to see what wildlife has been in the garden overnight. Daily checks are useful for checking that the camera trap is still working ok and that SD cards haven’t filled up completely.
Checking the results
Camera traps record all images and videos to an SD card. I recommend 8gb SD cards or above as they will not get completely filled if there is a lot of activity in the garden. The cards are easily removed from the camera and can be inserted into the SD slot on most laptops. In the onscreen folder, you can view thumbnail images of every clip recorded, but it is much more fun to select all clips, then select “open in Windows Media Player” to allow you to watch them one by one. Using a camera trap can take a bit of practice, but when you get the hang of it, you’ll soon be addicted!
(c) Kathryn Jones
Stuart Edmunds
Stuart Edmunds
To find out more about camera trapping, grab a cuppa and watch our You Tube video. Get even more tips and advice from Stuart in his tutorial, full of fantastic clips of the wildlife he's recorded on camera traps.

Stuart Edmunds, Mammal expert
Follow Stuart on twitter @pinemartensuk for more camera trap footage!


